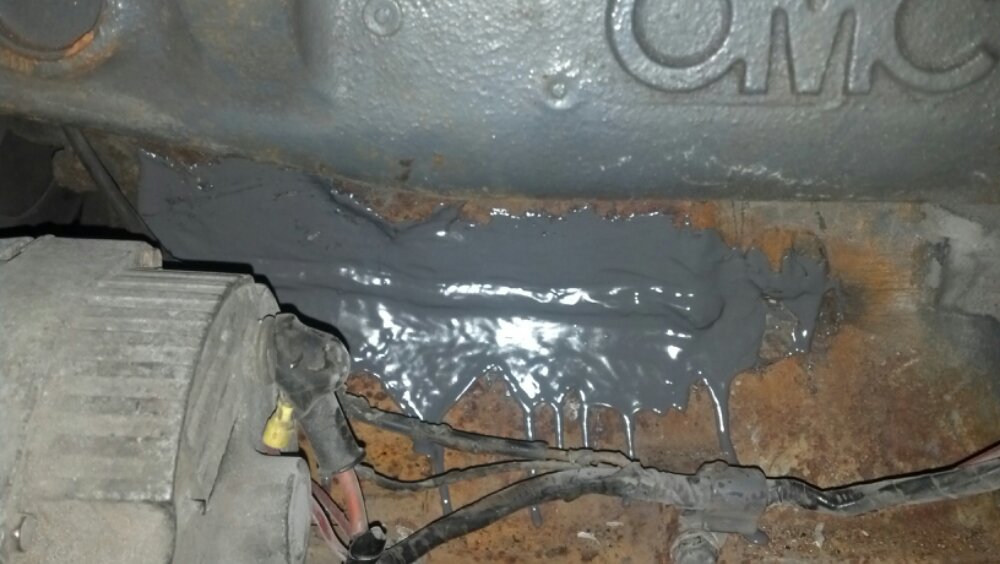
The engine block in my father in law’s boat was spraying water so we investigated. I found bondo covering something. A grinder showed that it was welded in the past. After cleaning I used JB Weld to cover and fill any voids. Tomorrow will tell if the operation was successful.
JB Weld on leaking engine block
Well the next day showed that this fix held. Unfortunately the freeze plug just above this started leaking when the block held pressure. Then with the boat in the water we found water streaming in through the transom somewhere. Time to cut our losses and sell this thing.
The rear mount on the front subframe was as bad as the others. This one had clearly been repaired before but it rusted badly around it. I really had a job trying to cut this out with limited clearance. The torches were out of the question with the fuel line an inch away. Welding required my pipe sweating pad.
Pieces after the struggle to cut it out. I had to cut back farther than the length of the repair plate.
So I had to lengthen it with a piece of steel. I got it sized the way I wanted and then had to get funky with welding it. Reaching up inside the frame blocked my view so I had to figure out when I was welding the end of that extension plate. I got it but it ain’t pretty.
After all the struggle to get this side I was dreading the next side. I took the bushing out and found it was in pretty good shape! I sprayed it with rust stuff, painted it with Rustoleum, and put in the new bushing. Done with subframe mounts. The ones on the front at the radiator support were okay though the bushings were rusted out inside.
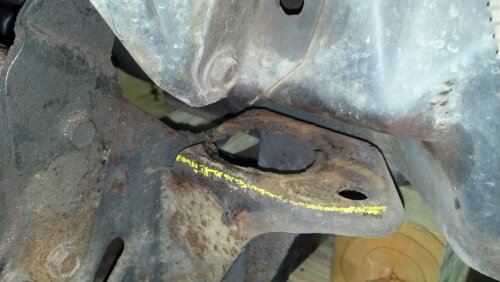
New bushing sitting on repair plate with alignment
Now that I have all the parts I set the repair plate on top of the subframe mount. Then I put the new bushing on that and bolted it in. I ran my large drift into the alignment holes at the edge and put the weight of the car on it to keep it still. Then I traced it with crayon.
Wider angle view of the bushing on the repair plate with the plate aligned and chalked out.
This picture helps orient your view. This is the left front, that’s the firewall, and the subframe to the left.
Note the size of that hole. The crayon marks where I’ll cut first
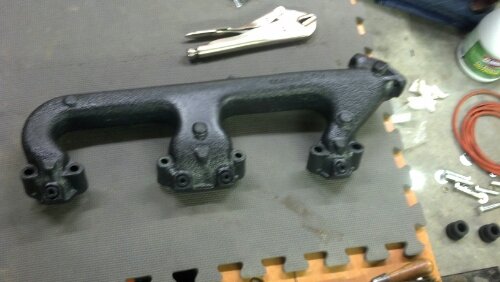
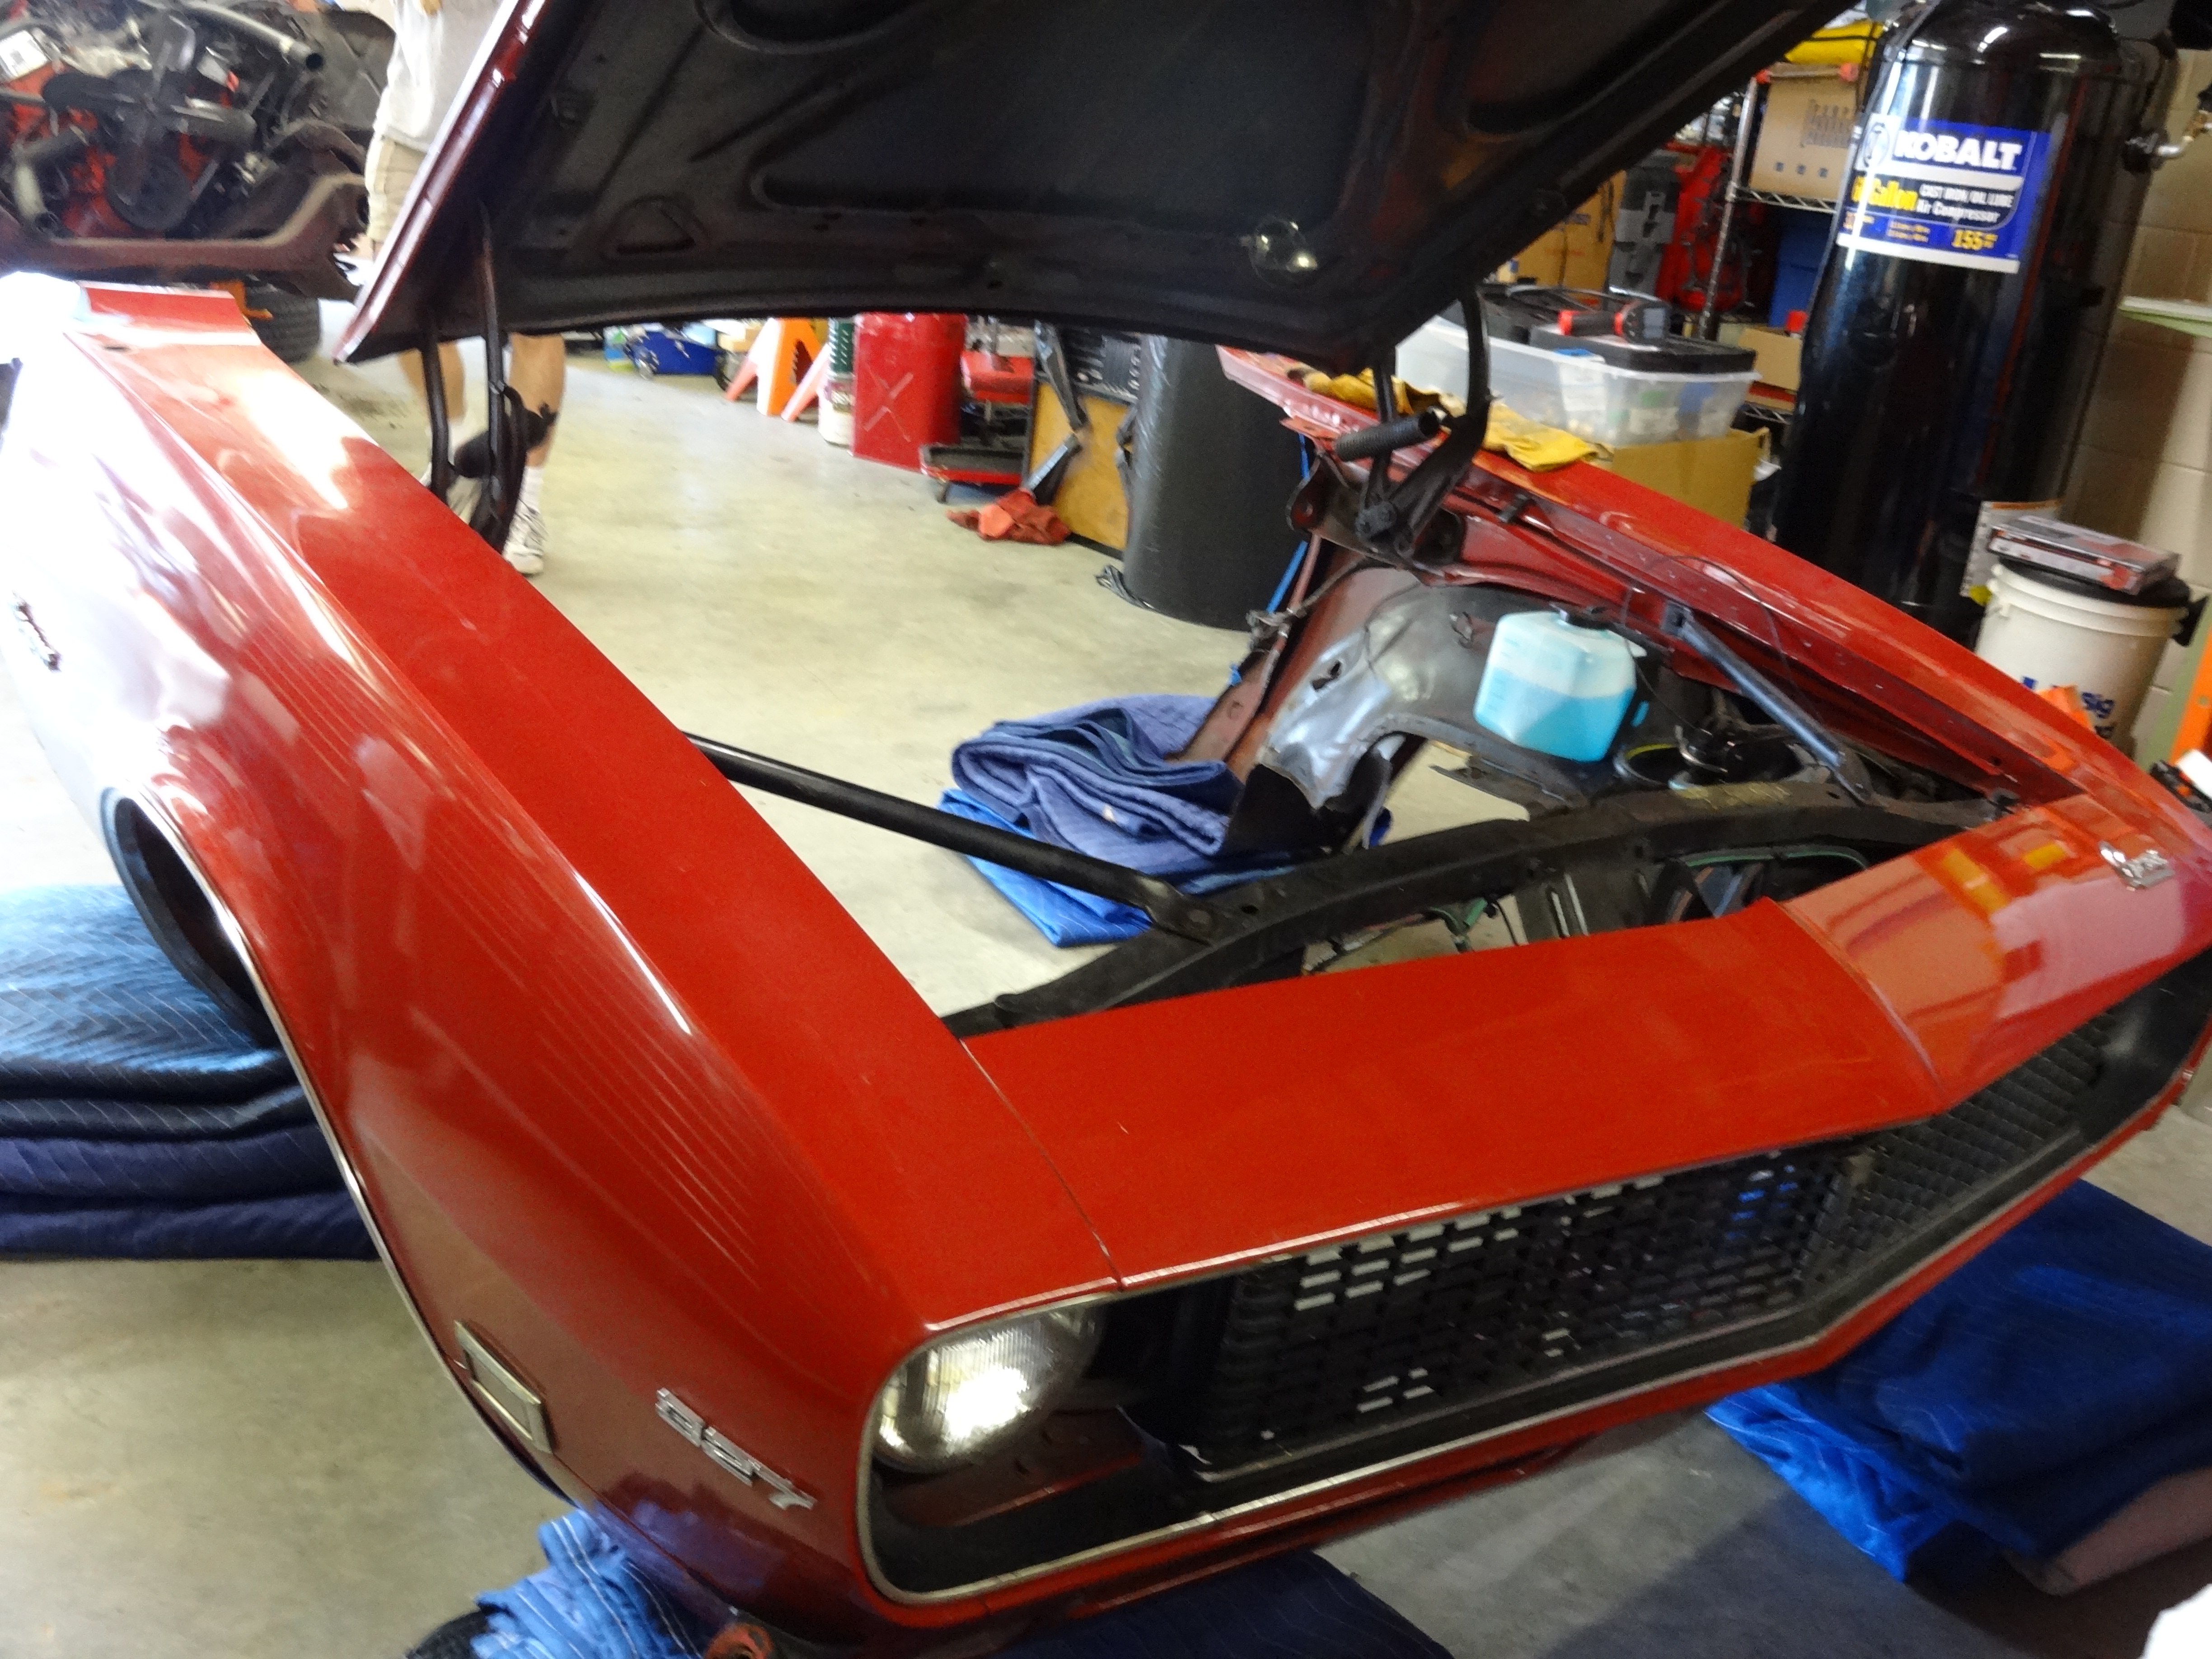
While doing some work on Nat’s 1968 Camaro I had to take the exhaust manifolds off. While I had them off I used a grinder and some files to clean up the mold flash. Once cleaned up I took them out to be ceramic coated. The coating not only makes them look better but it also keeps heat contained and sends it out the exhaust to the pipes.
Manifold bolted in place
This is the passenger side bolted in place.
Ceramic coated exhaust manifold bolted up
This is the driver’s side. They don’t stand out except as clean. I like it.
I decided that if I didn’t replace the water pump now I’d be doing it soon after getting the car back on the road. At least now it’s easy to get to. Corrosion in the heater core and radiator along with “mud” coming out of the cooling system convinced me that the coolant had failed in its anti corrosive properties. It would have been nice to flush the motor with the water pump off but there were no exhaust manifolds and no spark plugs then. Don’t want water inside the motor.
The water pump I took off was painted Chevy engine orange to match the engine so I did the same with this one. I looked into switching to a clutch type fan but wasn’t ready to spend the $270 or more it would take. If I decide to make a change in the future I’ll probably hide an electric fan in the fan shroud so it appears more stock.
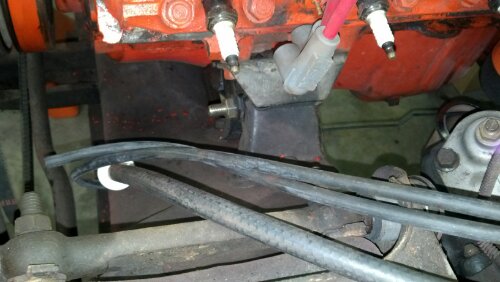
I wish I’d had this view of things when I replaced the motor mounts. There had been some odd things with launching the car from a stop that I decided were because the motor was torquing on its mounts. The Camaro uses a mechanical belcrank setup between the frame and the block. While the motor mounts were in better shape than I thought they weren’t bolted down properly.
Unfortunately I’ve found another potential culprit in the subframe bushings and/or their mounting points.
The first step in this is to loosen the bolts on all of the mounts. There are four going to the car’s body and two on the radiator support. After they’re all loosened I removed the bolt from the left side by the firewall. This is a picture of my rig to jack the body away from the subframe. It consists of two 8″ scraps of 4×8 post resting on a block of 2×8. I took the extra step of sliding a plate of 1/4″ steel between the body and subframe for the blocks to rest on.
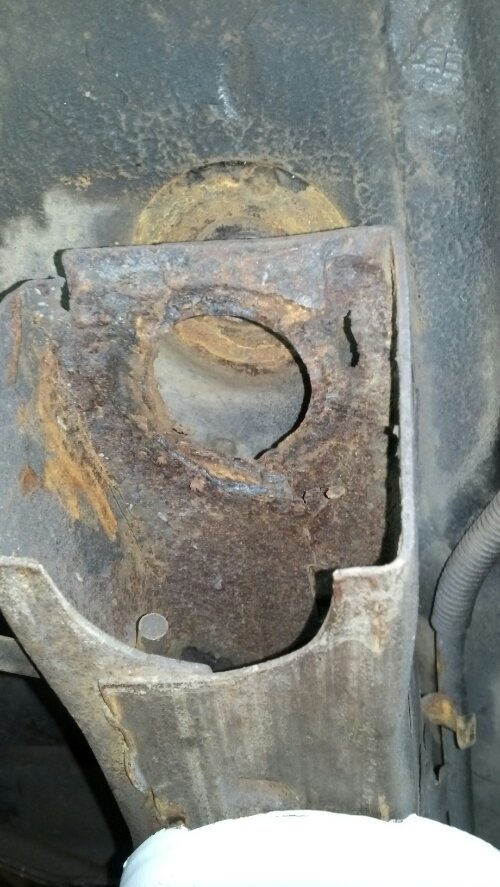
Once there was enough clearance I slid out the remains of the old bushing. That let me get a good look at the mounting point.
So I think THIS is what all those rusted out ones looked like.
Uh oh. That’s rusted through. There should be a 1 1/2″ hole there. Instead it’s almost 2 1/2″ across. The bushing falls through. I have repair parts ordered for that now in addition to the bushings I was ready to put in.
Snowballs in April? How about a snowballing project.
First the motor mounts. Symptoms suggested they were tired and needed to be replaced. Removing them showed that the problem was they weren’t bolted in properly. Okay, one project done.
On the first drive afterwards I noticed antifreeze dripping on the passenger side floormat. Dangit. Heater core. Well, while the dash is apart I can fix the lights on the dash that have been burned out for so long Natalie didn’t even know they existed.
Putting the heater core back in properly took a bit more work that I anticipated. I needed to remove the right side inner fender. Counting bolts, shims, and other issues turned out to be more work than I wanted to tackle but I was kinda stuck.
Perfect. I can fix some of the air leaks coming through the firewall.
Hard to believe this was easier than taking one inner fender off.
Hm. Clutch fan, water pump, what else?
FinallyAmazing how easy it was to remove.It’s a little tempting to crawl around under this cleaning and polishing.
At the end of it all the exhaust manifolds will have been ceramic coated, new bolts will hold the exhaust together, and there will be a new water pump keeping the cool. Also the radiator is going to have to be cleaned and resoldered because it shows a leak. The heater core will be new and well mounted. Lights in the dash will work and one of the heater controls has been disconnected for some time. Oh and a major vacuum leak will be fixed.
If I get lucky and a parts store employee comes through the car may also get power steering. That’ll help Nat drive her own car.