The Tahoe suddenly started smoking and using quite a bit of oil. I had an idea of what this would be and doing much chasing and reading I’m nearly 100% certain the AFM system (also called DOD) has failed predictably. AFM stands for Automatic Fuel Management and DOD stands for Displacement On Demand.
The system uses special lifters that can be collapsed to disable cylinders to presumably save fuel. Unfortunately it’s not just like switching between an 8 cylinder and a 4 cylinder since you keep all the drag of those idle cylinders. The trouble comes from plastic parts that wear early and critical split second timing to switch things.
The full repair would take my Tahoe down for days and be expensive since “while I’m in there” kicks in on an engine with more than 220k miles on it. I decided instead to buy a running used engine. I was still a firm believer that all that complicated stuff was worth having so I bought another engine with all that. After announcing the purchase I started hearing too many opinions that all that fancy stuff should be disabled permanently. I called a very trusted friend with huge experience and he echoed the sympathies.
>sigh< on top of buying the used engine I found I had to buy a bunch of parts to disable the system and that means tearing the new used motor down. Which I’m doing. At least I can still drive my smoky Tahoe while this goes on.
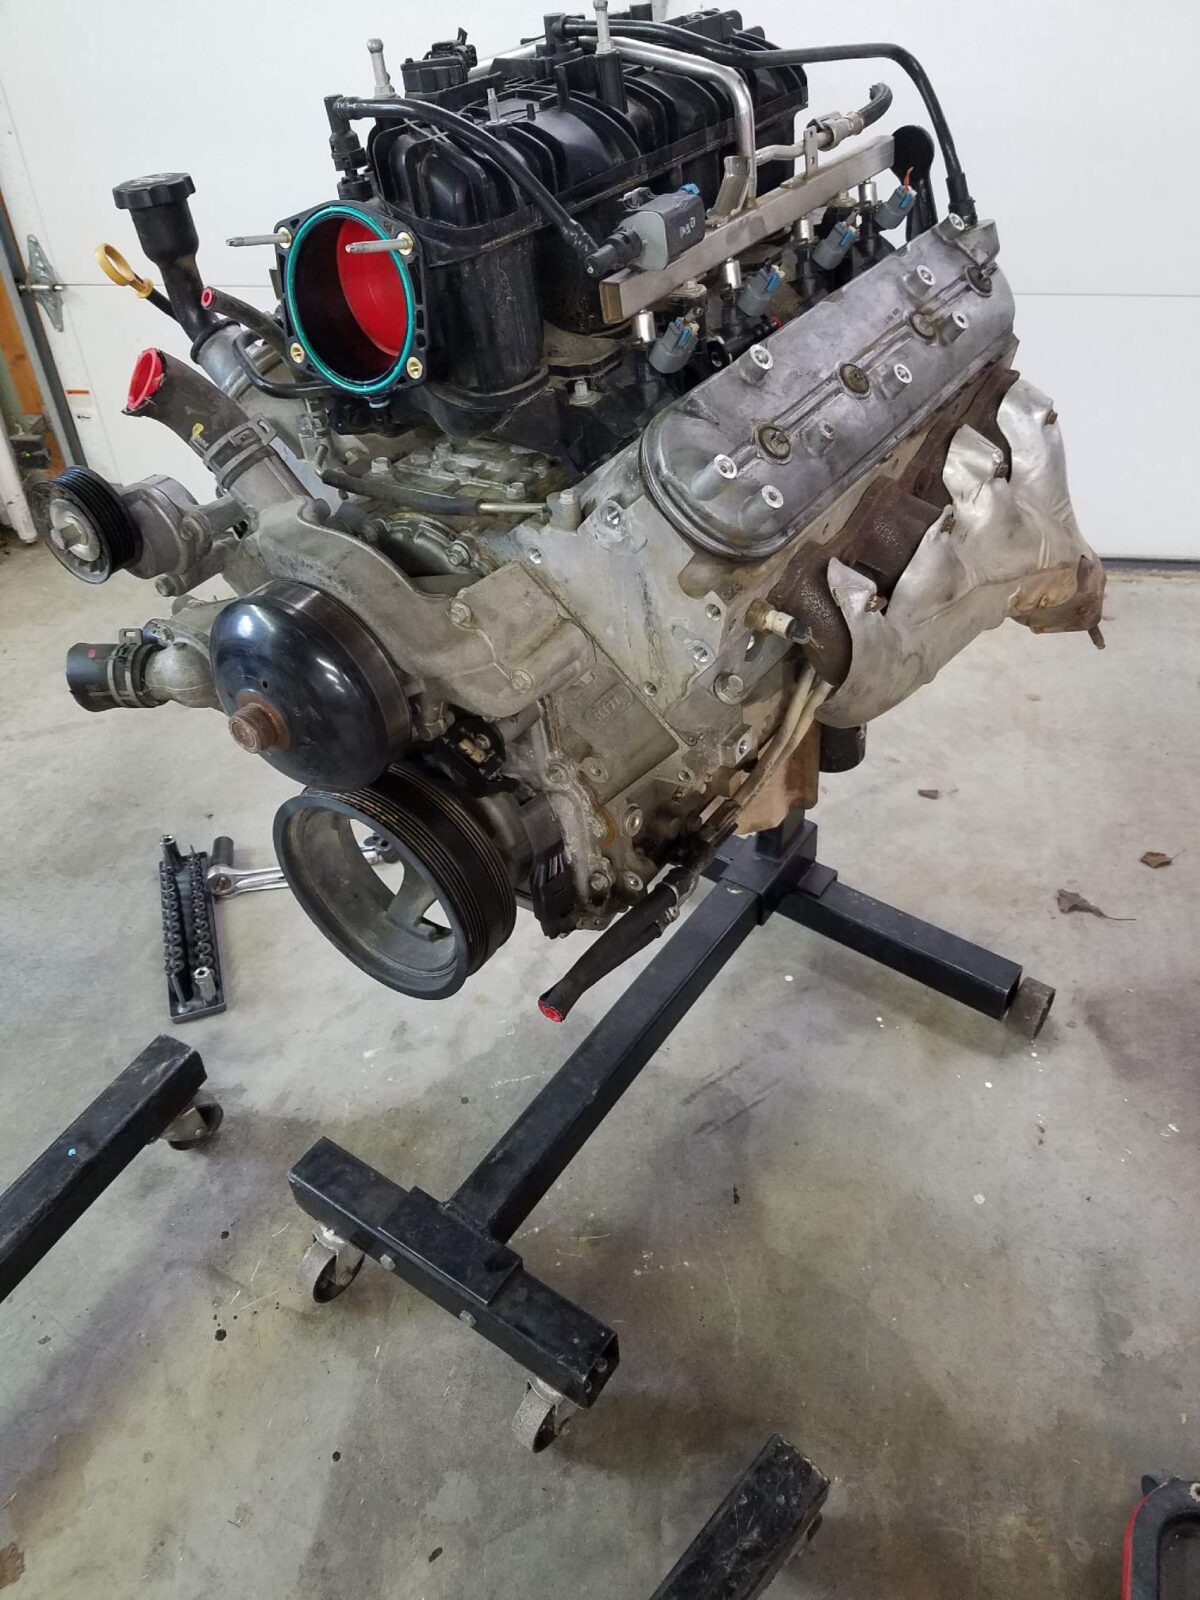
The new engine looks pretty good.


There are a few places that need attention in addition to installing my parts.


I’ve been stripping the block down ready to install the AFM delete kit and for general inspection. I knew from earlier that I had two broken exhaust manifold bolts and one missing.


As part of the AFM delete it was recommended that I tap and plug these oil towers that fed the AFM system to prevent future oil leaks internally. I wouldn’t lose oil but could lose oil pressure.

Should be just a little more cleaning then I can start assembly. I’m learning slowly that the AFM delete kit I bought from Texas Speed has some of the stuff I need but oddly is missing a lot of obvious stuff. I need to make a final assessment of what I need and do one last shopping trip.
Valve spring time. The AFM delete kit includes an LS9 cam which requires new springs. I did a little research and found a cool tool to compress the springs.


When you add this part you want to make sure the tension bolt is very close to centered between the valve springs and the compression plate is sitting squarely on the top of the valves. Then you can tighten the bolts down some to hold it to the head. Having read about problems galling the tension bolt and plate I used copious amounts of anti seize on it.

As you start applying tension I found a light tap will free the keepers which will be stuck in place some. On the bench I have a rag wadded up keeping the valves from dropping through this process. On the block you’d want air pressure, or the rope trick with the cylinder at TDC.

Very simple to pull the keepers out. Nothing jumping around.

Note that the base part of the tool just stays there while you do this. I figured out that way it stays perfectly aligned to put the new springs back in.

With springs and old seals out I found lots of oil captured so I wiped that all down.

Fel-Pro includes these little straws to protect the new seals from getting nicked when you slide them down past the keeper groove. I wipe the top down with a tiny bit of assembly lube before setting the seals on. I found a 12 point deep well 15/16 socket is just right for pushing the new seals down. I just pop it down with the heal of my hand.

This thing worked incredibly well. After the first cylinder I realized that I could double nut the tension bolt and not have to have my ratchet box in the way. Oddly my 1/2″ ratchet box wouldn’t slide over the top of the 13mm bolt head but worked fine on the 13mm nut. Actually I guess that’s not odd since 1/2″ is 12.5mm.
I did a quick inspection on the valves when I had them easy to drop out and they’re in good shape. The intake seats seemed dirty but I didn’t mess with them beyond wiping them down with acetone. Then using more acetone I cleaned the mating surfaces, layed down the new cylinder head gasket, and put the head on the block.
The new engine is assembled with the exception of swapping some parts from the old engine. Time to get the old engine out.

I dreaded getting the wiring harness loose. Turns out I was still too optimistic. The huge loom of wires starts at the fuse block, the firewall, and some more on the right side of the engine bay. I really need to examine the two ends of the loom I didn’t get loose. I took the fuse block apart and found large plugs I could pull loose. That wasn’t too bad. The rest of getting the wires loose from the engine was a nightmare.


I’m really scared I won’t be able to figure out all those wires that I lumped off to the right fender in a heap. It starts over there and at the firewall, crosses to the fuse block and engine computer, then wraps all over front to back underneath, back on top, and is a monster.

Once the wiring harness was off I removed the intake manifold to get access to the transmission bolts on the top of the block. Of course they were studded to hold wires and I had to remove a 13mm nut and hoses and wires to remove the plate to get access to the 15mm nut that attached the transmission. I had the transmission replaced with an used one a couple years ago. They didn’t get all those bolts back tight! A couple of them were very tight I guess to make up for that. Putting things back I’ll have to use the tightenough scale. No room for any torque wrenches I own.
At any rate I discovered there had been a mouse nest under the intake manifold on top of the valley pan. No desiccated mice though. Does this mean I have an official GM Mouse motor?
On the right rear of the valve cover is a stud holding the coil pack to the valve cover. The stud on top of that didn’t hold anything in place but did managed to snag the air conditioning hard lines at the fire wall when I was trying to remove the engine. I freed that and made some more progress only to have something snag again. Unbelievably it had caught a stray wire plug and snagged again. I’m putting a bolt in when I put things back.
The already leaking transmission cooler lines were also attached to the side of the block because why not. I discovered that when I tried to move the engine. I couldn’t get a wrench on the bolt to get it loose so I popped the lines out of the bracket. I should get new lines while I have so much apart. It’s only money. My credit cards are smoking, not on fire.

I bought this engine hoist at the Price Club. Remember them? This was early ’90s. It still works. I have lifted a complete Ford 460 with attached E4OD. I’ll keep it. At any rate there is the old engine. It’s really dirty. I tilted the intake manifold in getting it out and gross thick oil looking stuff poured out.
Odd story, I went to the auto parts store to rent a puller for the harmonic balancer. They were showing my the wrong things when I repeated fairly loudly that I needed one for an LS engine. Another customer in the store came over and told me he works on LS engines all the time and he had a puller I could borrow. He also had the extra long bolt for putting the harmonic balancer back on. I was welcome to borrow those if I wanted. DING! Heck of a nice guy. Drag races and swears by the 5.3. His current drag car has a 5.3 putting down 1000 HP. He said he runs nothing but E85 in his engines. They’re as clean as the day he builds them when he tears them down later. He keeps his car street legal, drives to the races, runs in the 5’s, and drives home.
Meanwhile back at the ranch.

The AC compressor is still charged. I need to read about the belt to the AC. I didn’t find a tensioner and had to pull the harmonic balancer with the belt dragging. One of the bolts on the compressor backed out against the frame without coming loose and I had to wait until the engine was otherwise loose to get it.
I skipped a few steps but the new engine is completed and installed. There were some running problems that got serious. The computer would only let the engine run for a couple seconds at a time so it had to go back to the tuner. I had AAA tow it there and they were not super good at communicating what was going on. I went up and picked up the truck with them making statements about a blocked catalytic converter and issues with driving farther than 5 or 10 miles at a time. Okay, I can get it home.
It never got above 20 mph and there were some very serious problems with running. I had to give up when my oil pressure suddenly went to zero. My battery died fairly quickly while sitting on the road waiting for AAA to take me home where I could address the problems.
I could hear that the exhaust was blocked so my first task was to remove the Y pipe with catalytic converters (3 of them) to see what they looked like.

That came pouring out of the exhaust once it was out.
Closer look:


This is melted down and demolished. I didn’t break this up, it was like this on the car. Not at all like it was supposed to be. I’ve already ordered the new Y pipe and catalysts. While I wait for that to arrive I will finish clearing the pipe out so I can get exhaust through it and put it back in place to try to figure out how badly I injured my new engine.
I now understand more about what happened to the old engine. Since the exhaust couldn’t get through that mess it pressurized the block and blew oil out. Various bumps could sift the crumbs around and let some exhaust out so the symptoms were sporadic.
